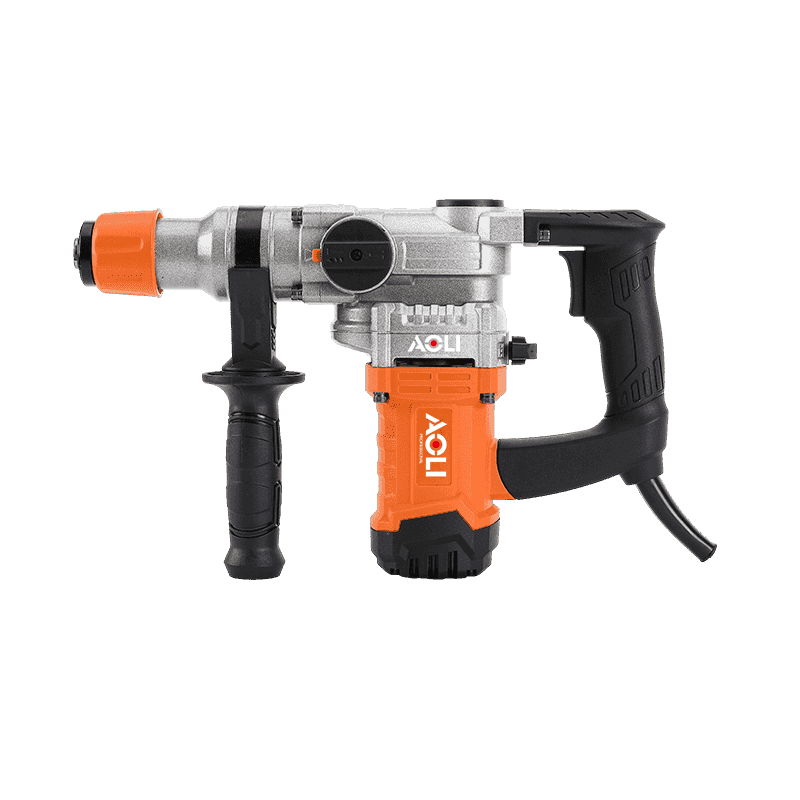
A professional demolition rotary hammer drill is a powerful and versatile tool commonly used in construction and renovation projects for drilling, chiseling, and breaking through tough materials like concrete, masonry, and stone. While these tools may seem intimidating at first glance, they are relatively straightforward to use with the right technique.
1. Familiarize Yourself with the Drill:
Before operating the professional demolition rotary hammer drill, take some time to familiarize yourself with its various components and features. Ensure that the drill is equipped with the appropriate drill bit or chisel attachment for the task at hand.
2. Prepare the Work Area:
Clear the work area of any debris, obstacles, or potential hazards that could interfere with the drilling process. Secure the workpiece firmly in place using clamps or supports to prevent movement during drilling.
3. Put on Safety Gear:
Safety should always be a top priority when using power tools. Put on the necessary safety gear, including safety goggles or glasses to protect your eyes from flying debris, earplugs or earmuffs to reduce noise exposure, and gloves to provide hand protection and improve grip.
4. Position the Drill:
Hold the professional rotary hammer drill firmly with both hands, gripping the handle and auxiliary handle for stability and control. Ensure that your stance is balanced and stable, with your feet shoulder-width apart for solid support.
5. Select the Operating Mode:
Most professional demolition rotary hammer drills offer multiple operating modes, including drilling, hammering, and hammer drilling. Choose the appropriate mode for the task you're performing by adjusting the mode selector switch on the drill.
6. Adjust the Speed and Depth:
Depending on the material you're drilling into, adjust the speed and depth settings on the drill to achieve the desired drilling depth and speed. Refer to the manufacturer's instructions for specific speed and depth recommendations based on the type of material being drilled.
7. Start Drilling:
Position the drill bit or chisel attachment against the surface of the material you're drilling into, ensuring that it is perpendicular to the surface and aligned with the desired drilling location. Apply gentle pressure to the drill while simultaneously squeezing the trigger to start the drilling action.
8. Maintain Control and Stability:
As the drill begins to penetrate the material, maintain firm control over the tool to prevent it from jumping or wandering off course. Use steady, even pressure to guide the drill bit or chisel through the material, keeping it centered and aligned with the drilling location.
9. Monitor Progress:
Pay close attention to the drilling process, monitoring the progress of the drill bit or chisel as it penetrates the material. Adjust the drilling speed and pressure as needed to maintain consistent progress and prevent overheating or stalling of the drill.
10. Finish and Clean Up:
Once the drilling or chiseling task is complete, release the trigger to stop the drill's operation. Carefully remove the drill bit or chisel attachment from the material, taking care to avoid contact with hot surfaces or sharp edges. Clean up any debris or dust generated during the drilling process, and store the drill and accessories in a safe and secure location.
By following these simple steps, you can safely and effectively use a professional demolition rotary hammer drill to tackle a variety of drilling and chiseling tasks in construction and renovation projects. Remember to always prioritize safety, wear the necessary protective gear, and follow the manufacturer's instructions for optimal performance and longevity of the drill. With practice and experience, you'll become proficient in using this powerful tool to achieve professional results in your projects.

 English
 Español
 русский


